
What are you
working on?
Take a picture or describe your project. DIY-Blueprint-Pro helps you figure out what you need, calculates the materials, checks the plan, and guides you through the build.
Get a calculated, checked build plan you can save, print, and come back to.
DIY Pro — $19/mo · Or price it free, no account required
See an example rescue first →With DIY Pro, Project Rescue turns your project into a plan: we calculate what you need, check it, flag what's missing, guide the build, and save it so you can pick up where you left off.
15 posts · 222 pickets · 60 bags concrete · add your ZIP for local prices
Calculated, not guessed. Estimates only, never a quote. Save the project free, then unlock the shopping list, cut list and build guide for $9 — or get every project with DIY Pro.
What do you want to build?
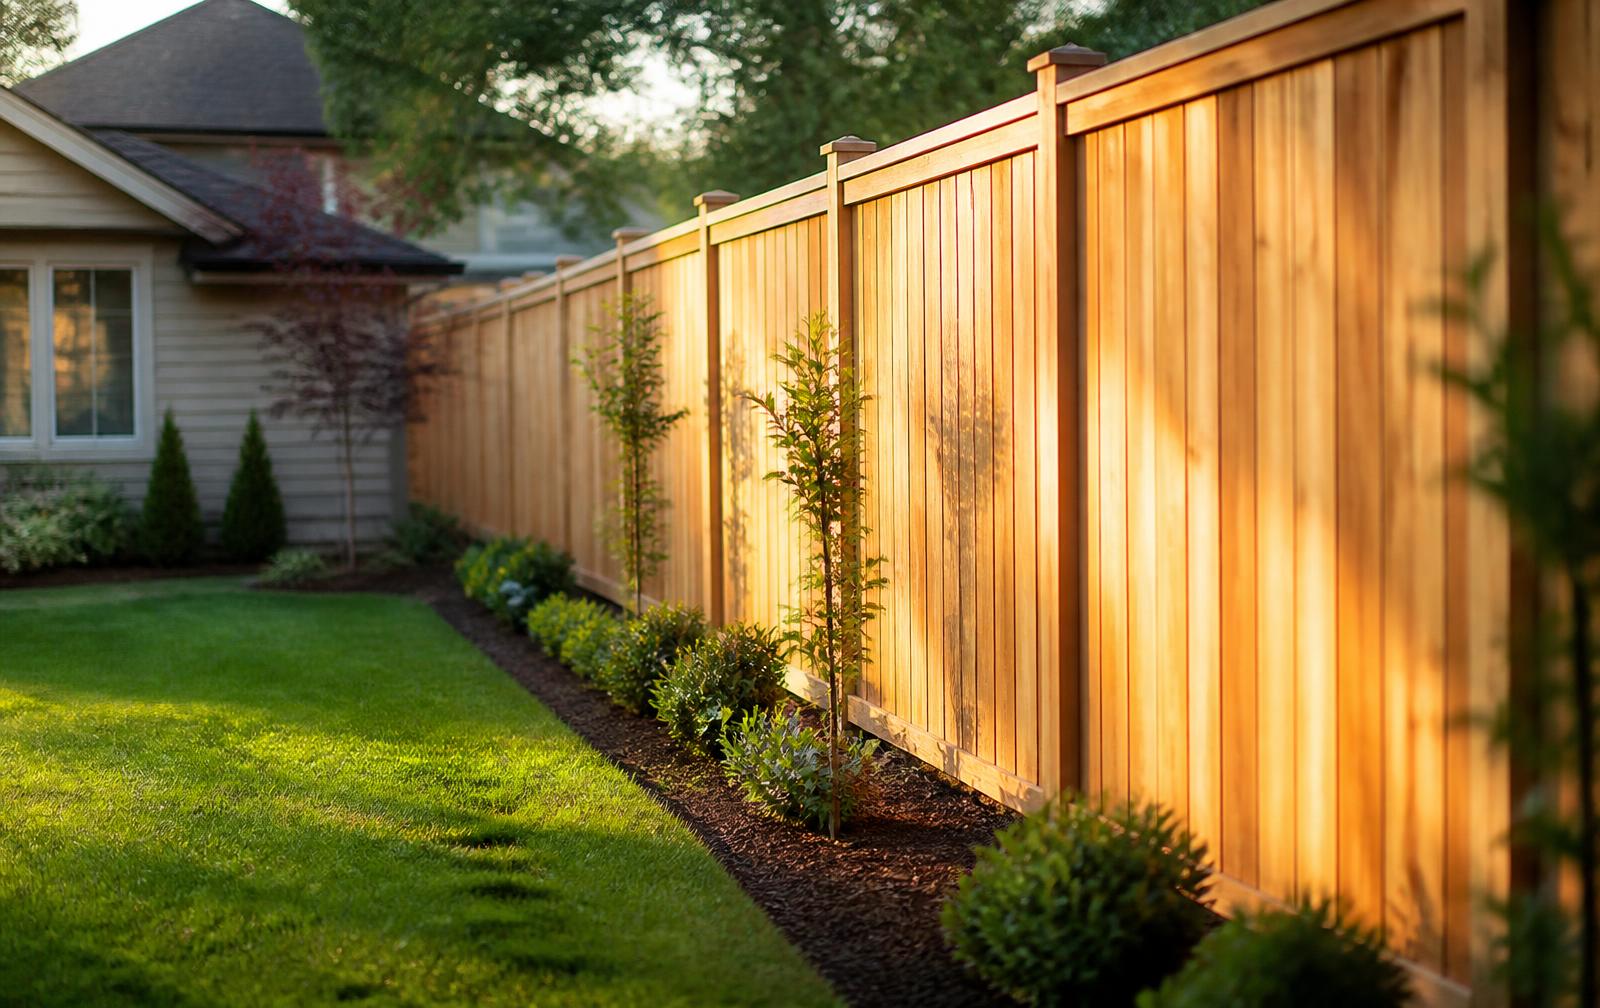 FencePosts, rails, pickets, gates
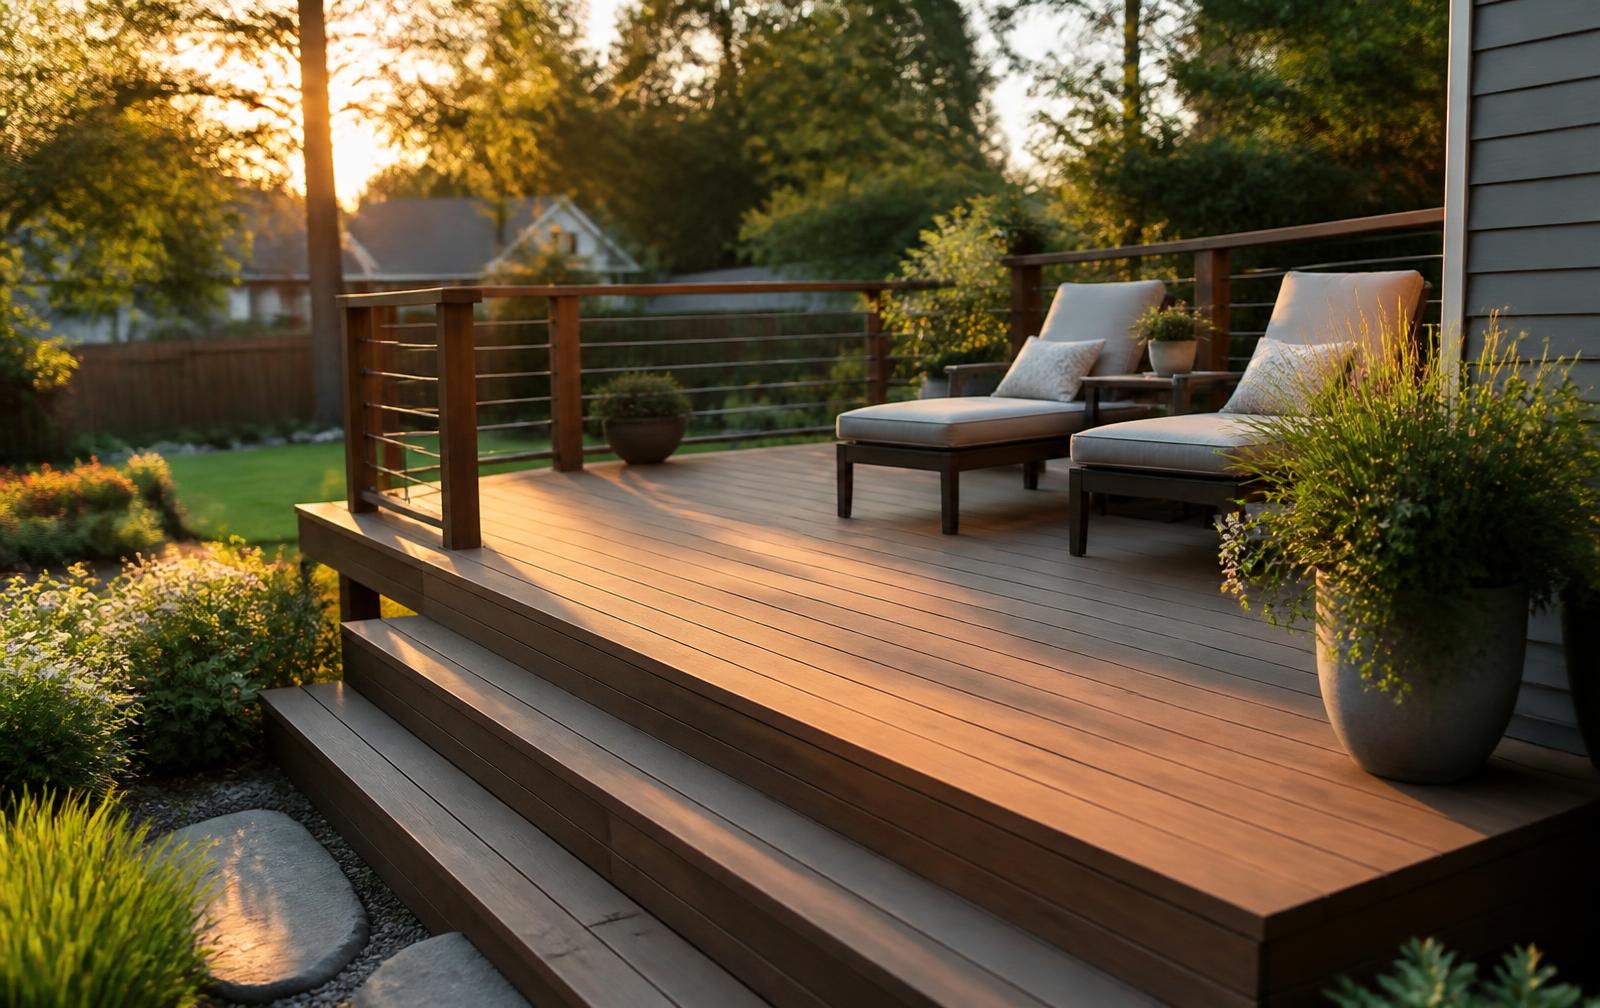
- DeckJoists, beams, decking
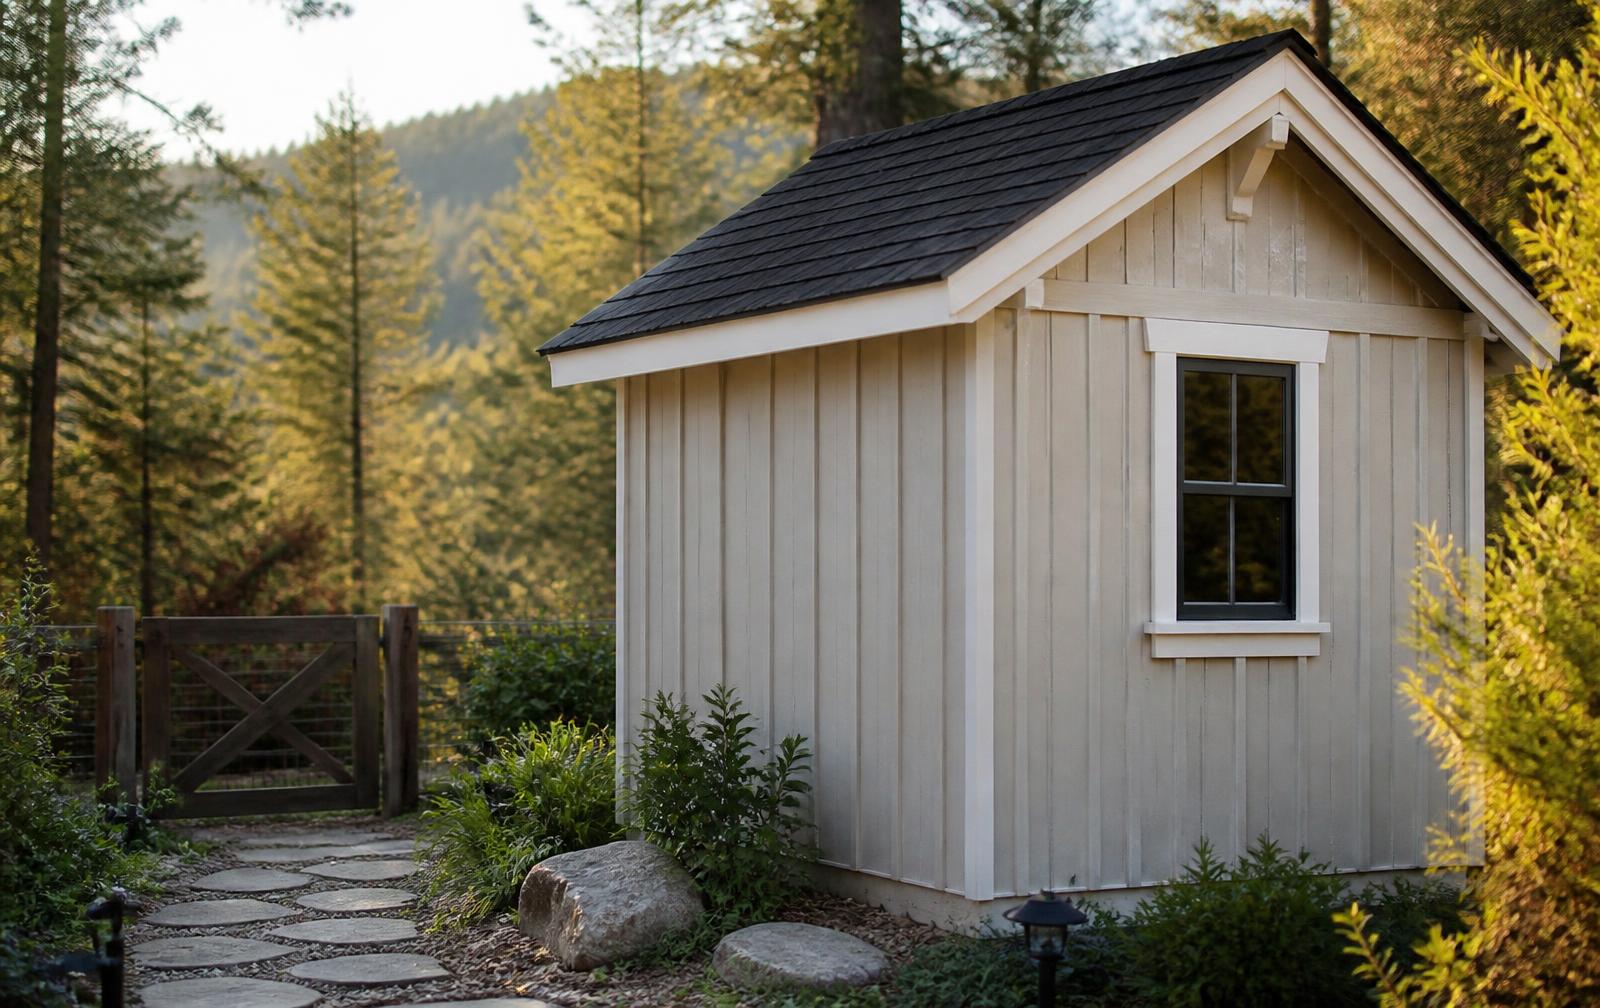 ShedStuds, sheathing, roof
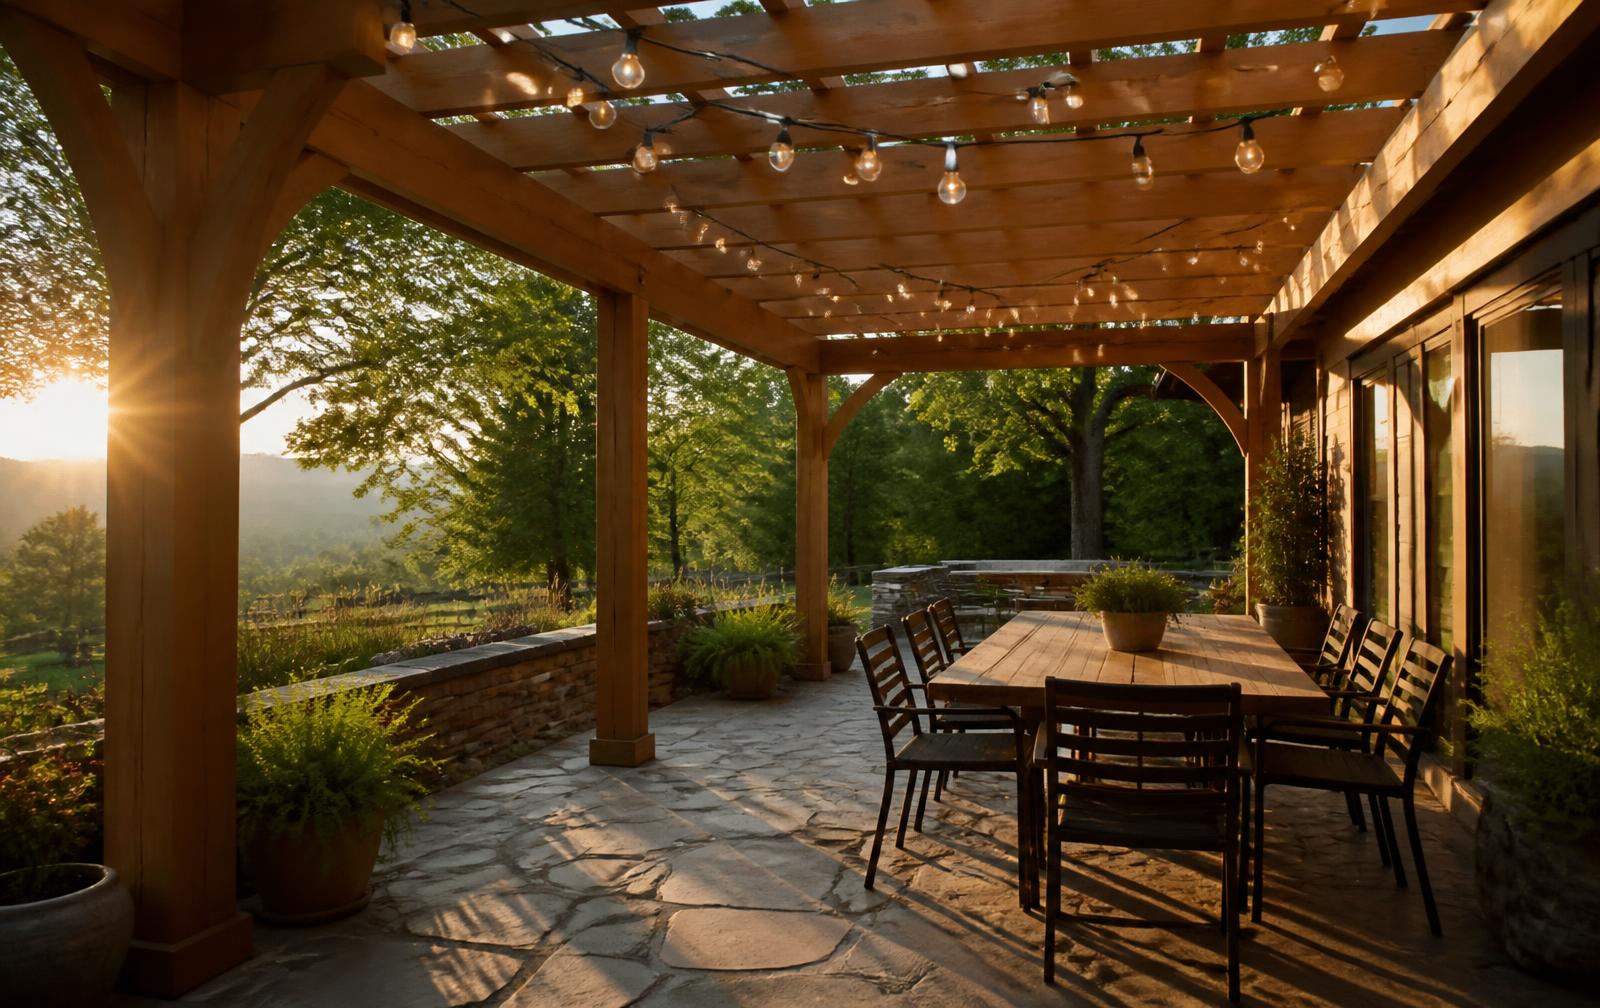 PergolaPosts, beams, shade slats
 Concrete slabBags, yards, rebar
 Garden bedPlanter frame + soil
 Chicken coopCoop + predator run
Roofing, drywall, framing, gates, and concrete tools are available in all project calculators .
From your project to a plan you can build.
1. Tell us about your project
Take a picture or describe it with Project Rescue (DIY Pro), or enter your measurements free.
2. We calculate what you need
DIY-Blueprint-Pro calculates the materials and estimated cost for stores near your ZIP.
3. Check what's missing
Your plan is reviewed for missing information, materials, steps and things to confirm.
4. Build with confidence
Save your project, follow the build guide, and print or download your plan.
Take a picture. We’ll figure out what to do.
Project Rescue turns a photo and a short description into a clear diagnosis, the measurements you still need, a calculator-checked material estimate, and a step-by-step project plan.
Estimates only, never a quote. Measure before buying and verify permit guidance locally.
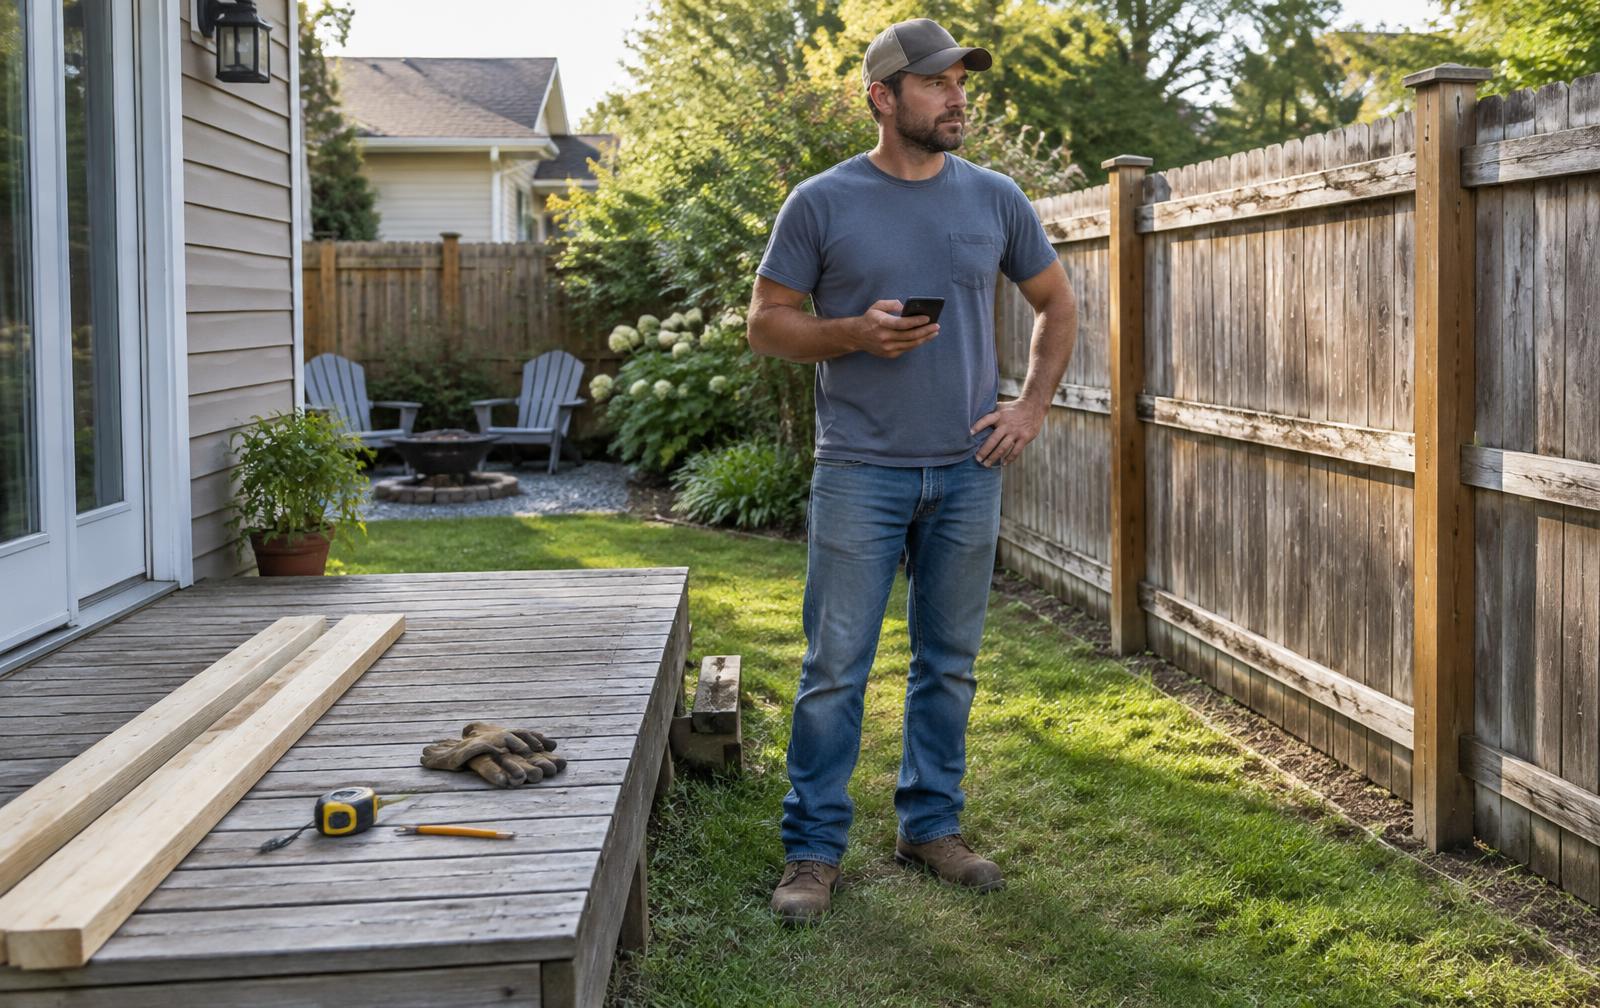
One project in. A complete plan out.
These figures are generated live by the calculators — not a mockup. Switch projects below, or change any dimension and yours regenerates the same way. Estimates only, never a quote.
16×12 pressure-treated deck
- Length
- 16 ft
- Width
- 12 ft
- Area
- 192 sqft
- Material
- pressure-treated
- Style
- attached
About a minute of typing. Everything on the right is produced from it.
See the full example plan10 priced line items
$108 of the total
7 cut groups, optimizer ready
Setbacks, footings, inspections to confirm locally
Framing layout drawn to your dimensions
Print it or take it to the store
Material pricing is indexed to your ZIP from big-box reference prices. Verify quantities and local code requirements before buying.
Price it free. $9 for one full plan. DIY Pro for every project.
Free
Price your project — no account needed
- Material quantities for any project
- Cost total priced to your ZIP
- Permit checklist preview
Full plan
Get the full plan for this project — no subscription
- Printable shopping list and cut list
- PDF plan with the layout drawing
- Full step-by-step build guide
DIY Pro
Every project, ongoing access · cancel anytime
- Every project unlocked, saved and reusable
- Project Rescue from a photo or description
- Material price alerts
All output is an estimate, not a quote. 30-day money-back guarantee on paid plans. Running a crew? Contractor plan is $99/mo.
No surprises at the register.
Real prices near you
Big-box reference prices indexed to your ZIP, refreshed regularly — so the estimate reflects local prices, not a national average. Calculated, not guessed — estimates only.
Permits flagged early
Setbacks, HOA rules and 811 utility marking, before you buy a single board. Guidance to check with your city — not a ruling.
Estimates, honestly labeled
Every number is an estimate, never a quote. Measure twice before you buy, and the guarantee covers you for 30 days.
See how we walk you through a real 16×12 deck.
Every paid plan includes a guide like this: the pro method on one side, plain English on the other.
How the pros build this deck
Footings below frost, ledger flashed and lagged to the rim, joists hung square, decking gapped for drainage, guard and stairs to code.
2 people, 3–5 days for a typical 16×12 attached deck
Tools a pro shows up with
- Safety glasses
- Work gloves
- Hearing protection
- Laser or water level
- Post-hole digger
- Circular saw
- Impact driver
- Framing square
- String line
- Socket set for structural screws/bolts
- Chalk line
The numbers pros work to
- Footing depthBelow local frost line, bearing on undisturbed soil
IRC-style footing requirement; frozen soil lifts shallow footings.
- Joist spacing16 in on center typical, 12 in for diagonal decking or composite
Span tables assume a spacing; composite decking usually requires tighter spacing.
- Ledger attachmentThrough-bolts or approved structural screws in a staggered pattern, with flashing above
Ledger failure is the leading cause of deck collapse; nails alone are not acceptable.
- Guard height / infill36 in min residential; no 4 in sphere may pass
Standard residential guard rule; keeps small children from slipping through.
- StairsConsistent rise and run, max 3/8 in variation between steps
Uneven risers are the classic trip hazard inspectors flag.
General guidance based on common residential practice. Your local building department has the final say — estimates only, never a quote or an engineered design.
Step 1: Layout and footings
A deck that is out of square never recovers — every later cut fights you.
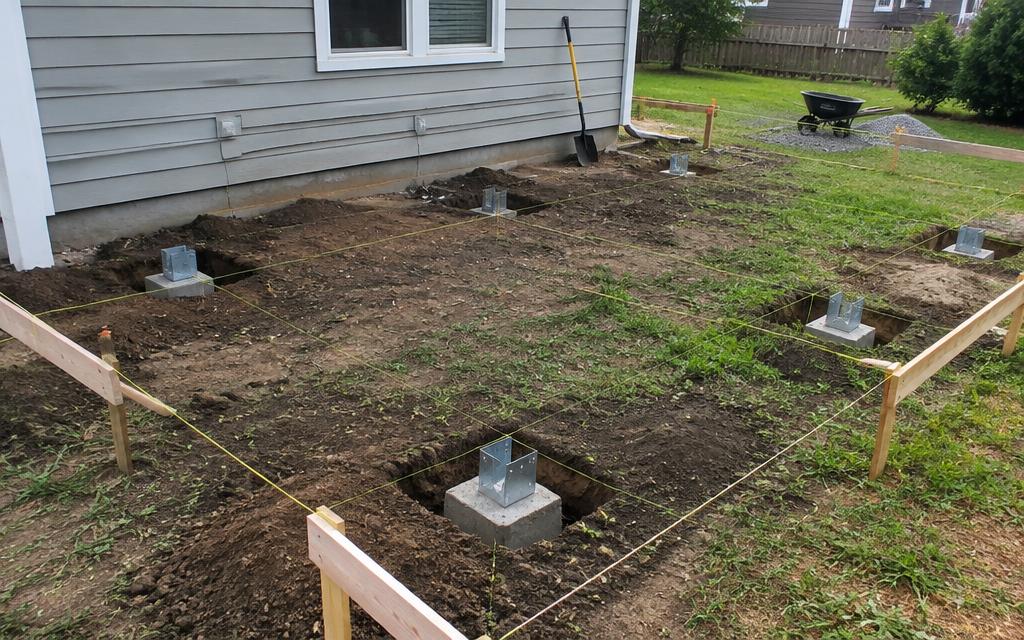
1.1 Batter boards and string lines, squared with the 3-4-5 method and equal diagonals.
Pro standard
Diagonals equal within 1/4 in over the footprint before digging.
In plain English
Measure corner to corner both ways. When both measurements match, the rectangle is square.
1.2 Dig footings below frost onto undisturbed soil and set post bases above grade.
Pro standard
Post base standoff keeps end grain off concrete.
In plain English
Deep holes so frost can't lift them, and a metal bracket so the wood post never sits in water.
Before you move on: Diagonals equal, footing depth verified in every hole, post bases level with each other.
Step 2: Ledger and beam
This is the structural heart — the part that hurts people if it's wrong.
2.1 Remove siding, install flashing, and fasten the ledger with the specified bolt/screw pattern.
Pro standard
Flashing over and behind the ledger; staggered fastener rows top and bottom, held back from edges.
In plain English
Water must run over the ledger, not behind it. And bolt it — never just nail it — to the house framing.
2.2 Set the beam on posts with approved post-to-beam connectors.
Pro standard
Notched posts or rated caps; toenails are not a connection.
In plain English
Use the metal brackets made for it. Screwing at an angle is not strong enough.
Before you move on: Ledger flashed and fully fastened, beam level end to end, connectors fully nailed off with the right nails.
Step 3: Joists and blocking
Bounce and squeak both come from here.
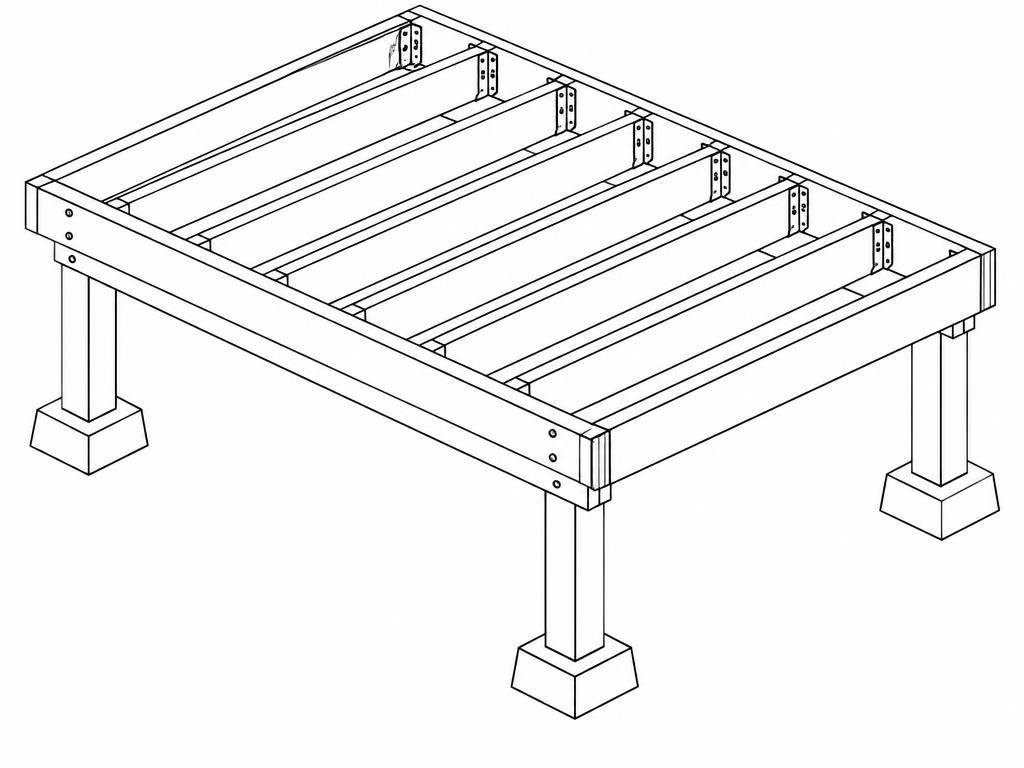
3.1 Hang joists at the design spacing with full hanger nailing.
Pro standard
Every hanger hole filled with the specified connector nail — not deck screws.
In plain English
Hangers only work when every hole has the right nail in it.
3.2 Add mid-span blocking or bridging and crown joists the same direction.
Pro standard
Crown up so deflection settles flat.
In plain English
Sight each board; the slight bow goes up. Blocking between joists kills the springy feel.
Before you move on: Joists square to the ledger, tops in plane (straightedge across shows no high joists), all hangers fully nailed.
Step 4: Decking, guard and stairs
Drainage and guard geometry are what inspectors check first.
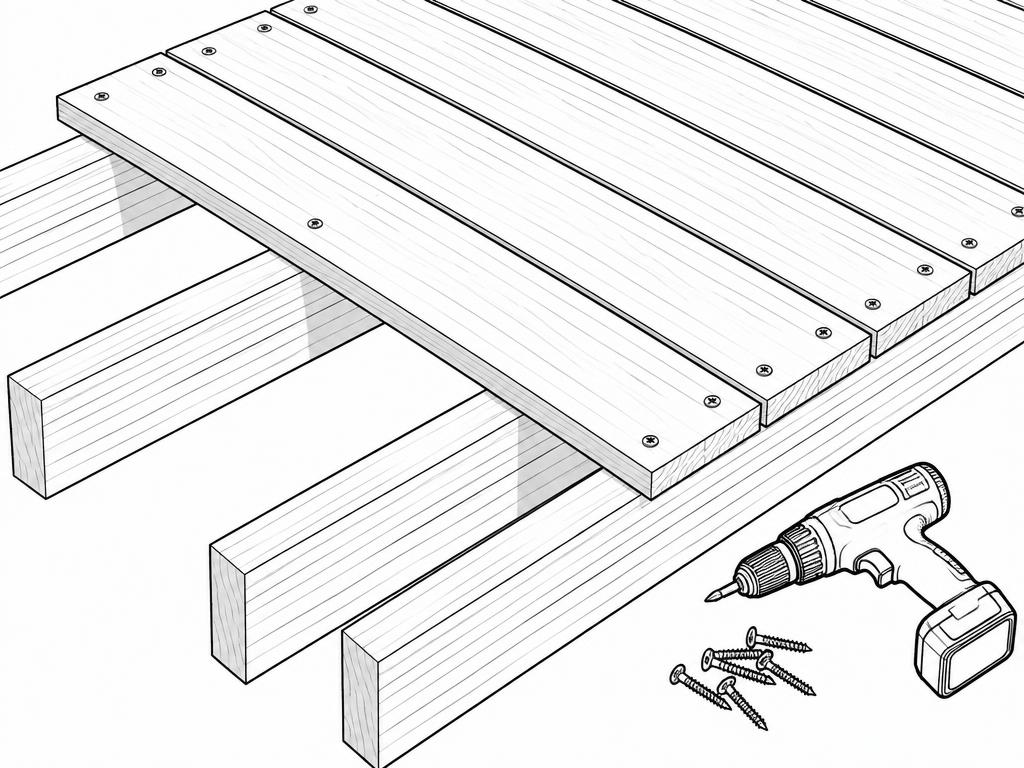
4.1 Lay decking with the manufacturer's gap and fasten per their pattern.
Pro standard
Follow the decking maker's gap and fastener spec — it governs the warranty.
In plain English
Leave the small gap they specify so water drains and boards can move without buckling.
4.2 Set guard posts with rated hardware, then infill so a 4 in sphere can't pass.
Pro standard
Guard posts take a concentrated load; blocking and bolts, not lags into end grain.
In plain English
Rail posts must survive someone falling against them. Bolt them through solid framing.
4.3 Cut stringers so every rise matches within tolerance.
Pro standard
Deduct the tread thickness on the bottom riser so all risers finish equal.
In plain English
Remember the last step's thickness when you cut, or the first step ends up taller than the rest.
Before you move on: No 4 in gap anywhere in the guard, boards gapped evenly, stair risers equal, nothing rocks underfoot.
What goes wrong most often
- Lagging the ledger into siding or a rim that isn't fastened to the floor system.
- Skipping flashing — the wall rots invisibly for years.
- Using deck screws in joist hangers instead of rated connector nails.
Plan it. Price it. Build it.
Pricing your project is free. Pay $9 only when you want the full plan to build from.